
Every egg you crack in Bike For Egg! runs through a hidden roll, and that roll decides whether you walk away with a plain pet or a glowing variant worth several times the cash. This Bike For Egg mutation guide 2026 breaks the mutation system down into plain terms, so you can see exactly where your egg mutation chance comes from and what actually moves the needle.
The short version: mutations are not random noise layered on top of hatching — they are a second roll that fires after the base pet is chosen, and understanding that order changes how you spend your eggs. Once you know the sequence, you stop wasting rides on low-value hatches and start stacking the odds in your favor.
Understanding the Two-Stage Mutation Roll
The mutation system is a two-stage process, and almost every mistake players make comes from treating it as one stage. Stage one picks the base pet from the egg's internal pool. Stage two — the mutation roll — fires separately and decides whether that pet gets a variant tag, a size change, or nothing at all. Because the two rolls are independent, a rare base pet does not automatically carry a better mutation chance than a common one.
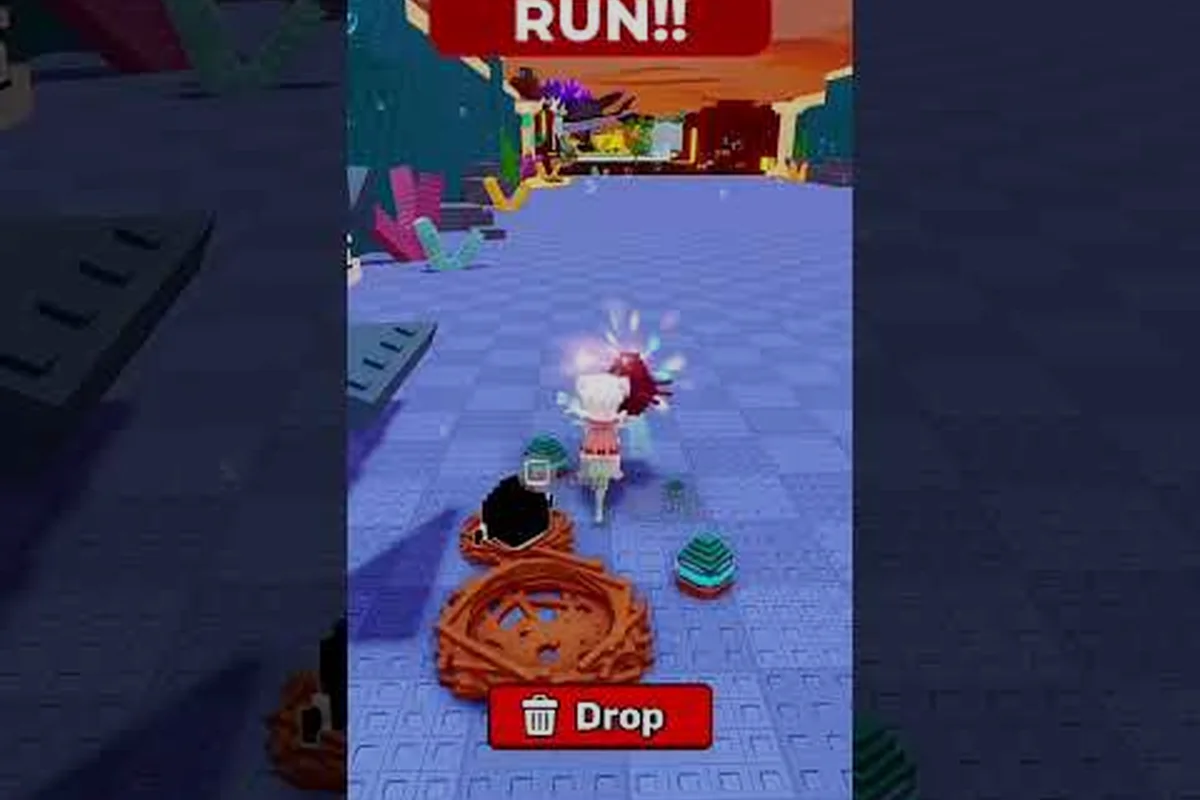
Community footage of quick egg grabs on the bike, like the run shown in this VamPieeCh gameplay clip, shows the hatch resolving almost instantly after the ride completes. That speed matters: the roll happens server-side the moment the egg registers, which is why you cannot "cancel" a bad hatch by closing the menu.
The Two-Roll Sequence
Think of it as a gate followed by a coin flip. The gate decides what you get; the flip decides whether it sparkles. Players who chase variants without understanding the gate often blame bad luck when the real issue is that they are hatching from a pool with a weak base rate.
-
Roll one — base pet selection: weighted by the egg's rarity table, unaffected by your mutation luck.
-
Roll two — variant check: independent probability that applies a mutation tag to whatever came out of roll one.
-
Roll three — variant type: if the check succeeds, a second internal table picks which mutation family you receive.
What Counts as a Mutation
Not every visual difference is a mutation. Size and color changes are the two main families, and they stack differently depending on the pet. A pet can roll a size mutation, a color mutation, or in rare cases both, which is why two players with the same base animal can end up with wildly different trade value. The best mutation tier breakdown ranks those families by practical worth if you want the value side rather than the mechanics.
| Roll Stage | What It Decides | Can You Influence It? |
|---|---|---|
| Base pet selection | Which animal hatches | Indirectly, via egg choice |
| Mutation check | Whether a variant appears | Yes, via luck sources |
| Variant type | Size, color, or combined | No, fixed internal table |
| Stat application | Final multipliers on the pet | No, follows variant type |
The key takeaway from that table is the middle row. Only the mutation check stage responds to anything you do, which is why stacking luck is the entire strategy — the base pet selection is locked in the moment you pick a Bike For Egg egg, and both the variant type and stat application resolve off a fixed internal table you cannot touch. In practice this means every luck source you equip, from event boosts to gamepass multipliers, funnels into that single roll gate, so the payoff is binary: the mutation either fires or it doesn't. Stacking luck cannot upgrade a size mutation into a combined size-plus-color variant, because variant type is decided after the check passes. That is the exact reason the Bike For Egg egg mutation chance breakdown matters more than any stat-side trick — your only real lever is raising the odds at the check, not steering what comes out of it.
Bike For Egg Egg Mutation Chance: The Real Numbers
Nobody outside the development team has the exact decimal values, and any site quoting a precise percentage without a patch note behind it is guessing. What community testing does support is the shape of the curve: base mutation chance sits low enough that a fresh player can hatch dozens of eggs without seeing a variant, and each luck source pushes that number up in small, additive steps rather than multiplying it.
According to community data collected across multiple hatch sessions, the practical difference between a bare hatch and a fully buffed hatch is large enough to feel — roughly a several-fold gap in variant frequency — but never enough to guarantee a result on any single egg. That is the honest framing, and it is why patient players outperform lucky ones over a long session.
Why the Base Rate Feels Worse Than It Is
Confirmation bias does real damage here. A player who hatches ten eggs and gets one variant remembers the nine failures more vividly than the success, so the perceived rate drops below the actual rate. Tracking your own hatches in a simple note — egg type, result, variant or not — for fifty eggs will usually show a rate higher than your gut estimate.
Does Egg Type Change Mutation Odds?
Egg type changes the base pet pool, not the mutation check itself. A premium egg gives you a better animal on a failed mutation roll, which raises the floor of your outcomes without raising the ceiling of your variant rate. That distinction matters when you are deciding whether to save for a better egg or invest in luck boosts first.
| Egg Tier | Base Pet Quality | Mutation Check | Best Use Case |
|---|---|---|---|
| Starter egg | Low | Standard | Learning the loop, early cash |
| Mid-tier egg | Medium | Standard | Steady grinding once stable |
| Premium egg | High | Standard | Chasing specific base pets |
| Event egg | Variable | Often boosted | Time-limited variant hunting |
Bike For Egg How to Increase Mutation Chance
Luck is the only lever that touches the mutation roll, and luck comes from a small number of sources that all stack additively. The mistake is chasing one big source and ignoring the cheap ones; the efficient path is grabbing every small bonus first because they are faster to obtain and compound with the rest.
Stack Every Luck Source You Can Reach
Work through this list in order of cost, not order of power. The early items are cheap enough that skipping them for a bigger grind is almost always a net loss. A single Luck-boosting pet slot or an unclaimed badge bonus costs you nothing but a menu check, yet each one stacks multiplicatively into your effective mutation chance — meaning a free +5% luck source is worth more than hours of extra egg grinding at base rates. Save consumables and timed boosts for a batched hatching session, when every cheap passive is already active and each egg you crack benefits from the full stacked total rather than a fraction of it.
-
Luck-boosting pets: some companions carry a passive that nudges variant odds while equipped — check your roster before every session.
-
Badge and reward bonuses: permanent account perks from the claim rewards system often include luck modifiers that many players never activate.
-
Consumables and timed boosts: short-window items that are worth saving for a dedicated hatching session rather than burning one at a time.
-
Session batching: hatching many eggs in one sitting with all boosts active concentrates your luck windows instead of scattering them.
Batch Your Hatches, Don't Sprinkle Them
If a boost lasts a limited window, hatching three eggs inside it wastes most of the value. Save eggs until you can run a full batch — ten or more — inside a single boosted window. This is the single highest-impact habit change for players who feel stuck, because it converts scattered low-probability attempts into one dense block of high-probability attempts.
| Habit | Effect on Variant Rate | Effort |
|---|---|---|
| Hatching one egg at a time | Baseline | Low |
| Hatching with one luck pet | Small gain | Low |
| Full boost stack, single egg | Moderate gain | Medium |
| Full boost stack, batched session | Largest practical gain | Medium |
| Ignoring boosts entirely | Baseline minus free perks | None |
The bottom row is the trap, and it is the cheapest one to escape. Ignoring boosts entirely doesn't just leave you at baseline — it actively subtracts the free perks the mutation system hands out, so your effective Bike For Egg egg mutation chance sits below a player who never touched a luck pet at all. The fix costs nothing but a menu visit: before every batched hatching session, open the boost menu and confirm each free luck perk is toggled on, since an unclaimed perk behaves identically to a permanent penalty in the mutation roll. Treat this as the final checkbox in your batch routine — full boost stack, ten-plus eggs, every free perk claimed — because the table's "baseline minus free perks" row is the only one where doing nothing makes your variant odds worse than a fresh account.
Bike For Egg Variants Explained: Size, Color, and Combined
Variants split into three practical buckets, and each behaves differently in both appearance and value. Size mutations alter the model scale, which reads as more dramatic in-game and tends to hold value with collectors. Color mutations change the palette, which is more common and more subjective — a color that one player loves another will trade away without a second thought.
Combined variants, where a pet rolls both a size and a color change, are the rarest outcome and the one worth building a session around. They are also the reason two "mutated" pets of the same species can sit at very different prices, so never assume the tag alone means top value.
Reading a Variant at a Glance
When a hatch resolves, check scale first, then palette. A pet that looks subtly larger than the species norm is a size roll; a pet with an off-palette tint is a color roll. If both are true, you have a combined variant and should treat it as a keeper rather than trade fodder. Players who hatch fast often miss the size cue because it is less obvious than a color shift.
Which Variants Hold Value
Value tracks rarity and visual distinctness together. A subtle color shift on a common pet is worth little; a dramatic size change on a popular species is worth a lot. The full mutations odds reference goes deeper on rarity bands if you want to price a specific roll before trading it away.
| Variant Type | Rarity | Visual Impact | Trade Value Trend |
|---|---|---|---|
| Color only | Common | Moderate | Low to medium |
| Size only | Uncommon | High | Medium to high |
| Combined size + color | Rare | Very high | High |
| No variant | Most common | None | Base value only |
Bike For Egg Mutation Tier List for Practical Play
A tier list only helps if it maps to decisions you actually make, so this one is organized by what you should do with a roll rather than by abstract rarity. The top tier is not "rarest" — it is "keep and build around." The bottom tier is not "worthless" — it is "trade or release without regret."
S-Tier: Keep and Protect
Combined variants on popular species sit here. These are the rolls you build a collection around, and they justify the effort of a fully boosted batch session. If you get one, stop hatching that egg type for the day and switch to a pool you still need.
A-Tier: Strong Keepers
Size mutations on desirable species land here. They are common enough to be attainable and distinct enough to hold value, which makes them the realistic target for most players rather than the combined roll. For a concrete case, a Large or Small variant of a mid-tier species typically requires only a single successful mutation roll during the hatching window, whereas chasing a size-plus-color or size-plus-stat combination stacks two independent mutation checks and multiplies the grind. This is why A-Tier is where the bulk of a mid-game collection should sit: the size variants preserve trade value and breeding utility without demanding the egg mutation chance ceiling that S-Tier combined rolls require.
B-Tier: Situational
Color-only variants on popular pets sit in B-Tier because the mutation changes nothing but the palette — no stat shift, no egg mutation chance bonus, no gameplay effect. That makes their value purely cosmetic and heavily buyer-dependent: a recolor of a meta pet like the Bike For Egg dragon or griffin can still fetch a solid trade from collectors chasing a complete palette set, while the same recolor on a low-demand pet often sits unsold. Keep one if you personally like the shade; otherwise trade it fast before the next mutation event floods the market with duplicates.
C-Tier: Trade Fodder
C-Tier covers color-only variants on common, low-demand species — the kind of egg you'll hatch repeatedly while farming for S/A rolls, so supply vastly outpaces demand. These are fine to release for coins or slot into a trade as filler to balance value, but never invest boosts or rerolls chasing them. Because the mutation chance is fixed per hatch and color swaps don't stack with size or combined variants, a C-tier roll can't be upgraded into anything higher — treat it as a byproduct, not a goal, and keep your session boosts reserved for the S and A targets in the table below.
| Tier | Roll Type | Action | Session Priority |
|---|---|---|---|
| S | Combined variant, popular species | Keep, never trade cheap | Chase with full boosts |
| A | Size variant, desirable species | Keep or trade high | Main realistic target |
| B | Color variant, popular species | Keep if you like it | Opportunistic |
| C | Color variant, common species | Trade or release | Ignore when planning |
Planning a Hatching Session That Actually Pays
The difference between a productive session and a wasted one is preparation done before the first egg. Decide your target tier, confirm every luck source is active, and set a hard egg budget so you do not chase a bad streak into a cash hole. Players who hatch reactively — one egg here, one egg there, boosts half-expired — consistently report worse outcomes than players who run structured batches.
Track results as you go. A simple tally of eggs hatched, variants rolled, and variant types received turns vague frustration into usable data, and after two or three sessions you will know your own real rate rather than an assumed one. That knowledge is what lets you decide whether to keep pushing a pool or move on, and it is the same discipline that makes the best pet to hatch comparison useful rather than just interesting reading.
The mutation system rewards patience and preparation over luck alone — but "patience" here means a structured routine, not idle waiting. Concretely: run 10-egg batches, log each variant type as it drops, and compare your observed rate against the published per-tier mutation chance before deciding whether to escalate to a higher pool. Because mutation chance stacks multiplicatively with each active luck source, a half-expired boost can silently cut your effective rate by a third or more mid-batch, which is exactly the kind of variance that makes a session feel random when it isn't. Stack your sources, batch your hatches, know your tiers, and the variants will come at a rate you can actually plan around.
Frequently Asked Questions
What is the base egg mutation chance in Bike For Egg!?
Exact decimals are not published, but community testing puts the base rate low enough that dozens of unboosted hatches can pass without a variant. Every luck source adds to that base rather than multiplying it, so the practical rate climbs in small steps as you stack bonuses.
Does hatching a rarer egg improve my mutation odds?
No. Egg rarity changes which base pet you receive, not the mutation check that follows it. A premium egg raises the floor of your outcomes because the base animal is better, but the variant probability itself stays on the same standard curve as cheaper eggs.
Can I cancel a bad hatch before it resolves?
No. The roll completes server-side the moment the egg registers after your ride, so closing the menu or leaving the area does not undo the result. This is why batching eggs inside a boosted window is more efficient than hatching reactively.
How many luck sources can I stack at once?
Luck bonuses stack additively, so equip every available source at the same time rather than picking one. Luck pets, badge perks, and timed consumables all combine, and skipping the cheap permanent perks is the most common reason players feel stuck at a low variant rate.
Are combined size and color variants worth more than single ones?
Yes, combined variants are the rarest outcome and hold the highest trade value. A pet with both a size change and a color shift sits at the top of the practical tier list, while a color-only roll on a common species is the lowest-value result you can receive.